Still working on. Here's the image by Blackrose I'm using. Also, I'm using GIMP2 in Windows.


 Message [Page 1 of 1]
GIMP: Mane and Tail Wed Dec 31, 2008 7:51 pm Re: GIMP: Mane and Tail Wed Dec 31, 2008 7:58 pm
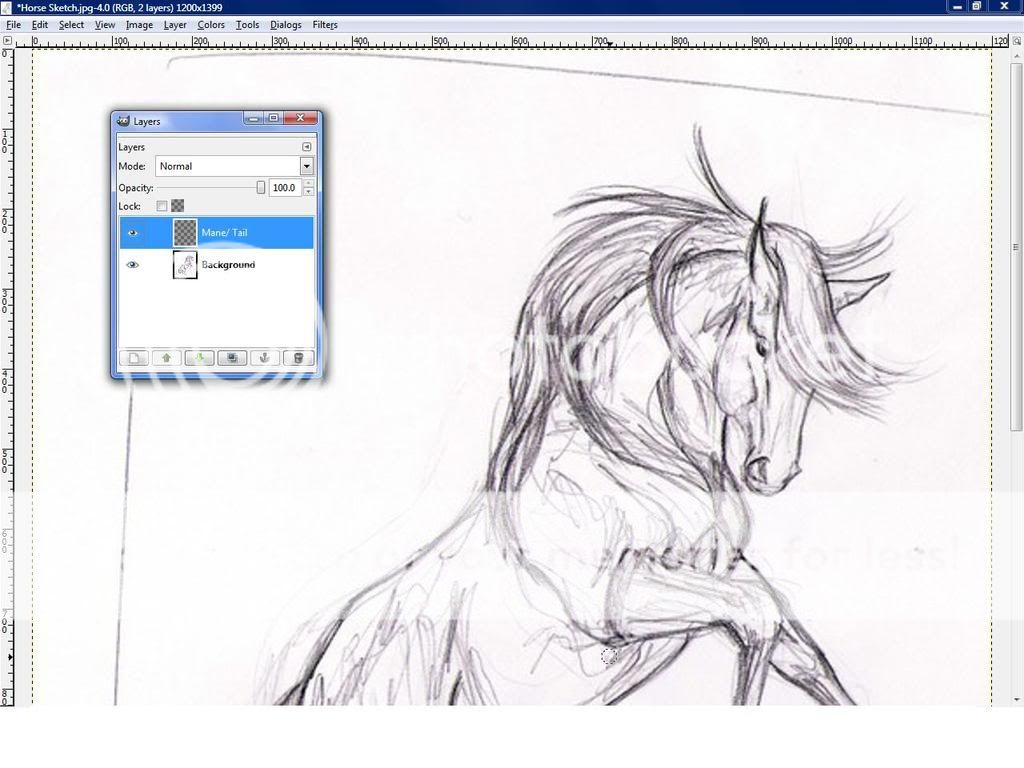 Re: GIMP: Mane and Tail Wed Dec 31, 2008 8:39 pm
 Re: GIMP: Mane and Tail Wed Dec 31, 2008 8:47 pm
 Re: GIMP: Mane and Tail Wed Dec 31, 2008 8:58 pm
 Re: GIMP: Mane and Tail Wed Dec 31, 2008 9:05 pm
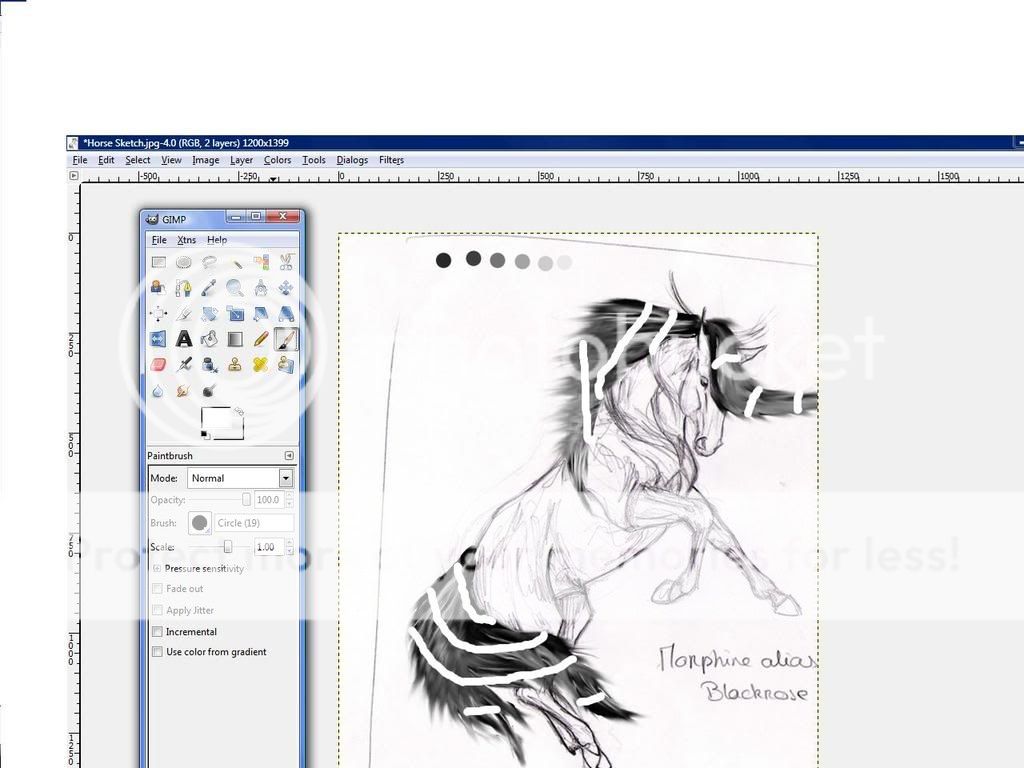 Re: GIMP: Mane and Tail Wed Dec 31, 2008 9:22 pm
 Re: GIMP: Mane and Tail Wed Dec 31, 2008 9:36 pm
 Re: GIMP: Mane and Tail Mon Jan 26, 2009 7:17 am
 Re: GIMP: Mane and Tail Tue Mar 10, 2009 4:14 pm
Message [Page 1 of 1]
Similar topics
![]()
Permissions in this forum:
You cannot reply to topics in this forum
|
|
|

